
New Recipes
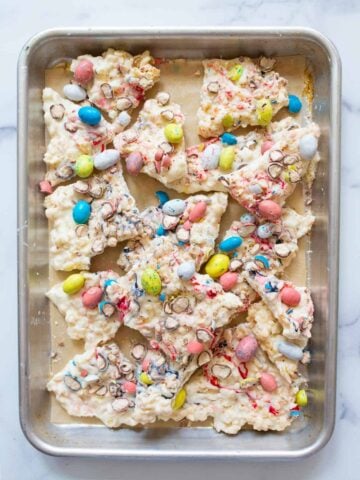
Easter Recipes


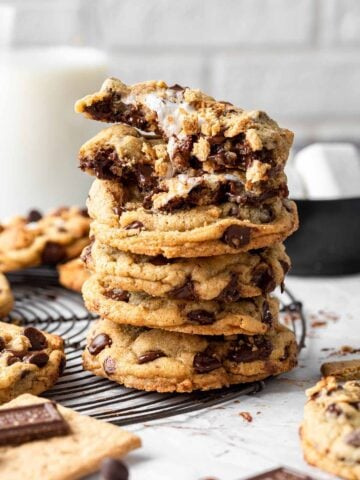
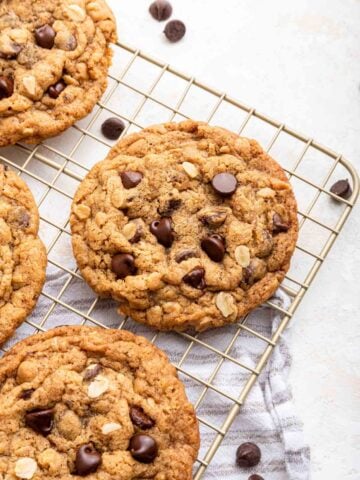
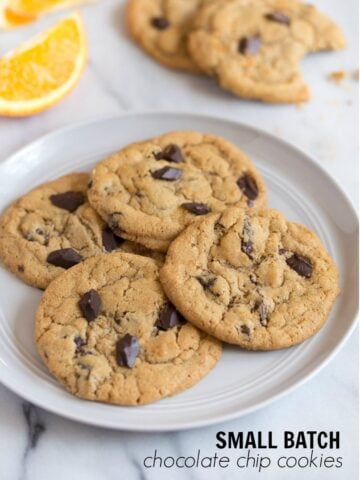
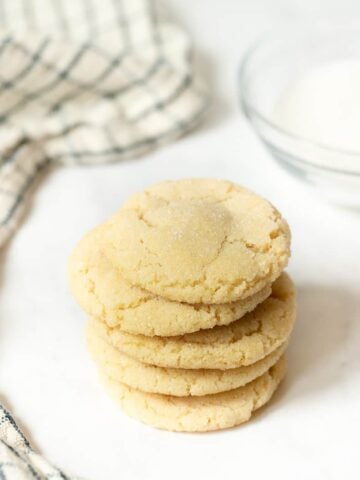
Easy Cookie Recipes


Famous Recipes


About Christina
Christina Lane is the author of 4 cookbooks all about cooking and baking for two. She has scaled down hundreds of recipes into smaller servings so you can enjoy your favorite dishes without the leftovers! Valentine's Day is her favorite holiday. You can also find her at BeanRecipes.com.
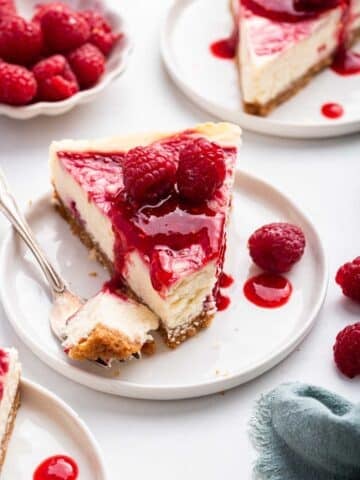
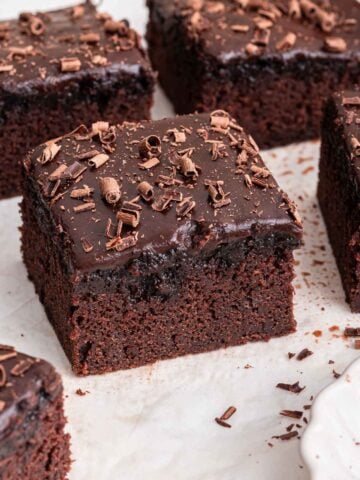
Chocolate Dessert Recipes
Chocolate desserts for two people. All of your favorite easy chocolate desserts compiled into one big list. Most recipes serve two, but can be easily doubled.


See more CHOCOLATE DESSERT RECIPES →
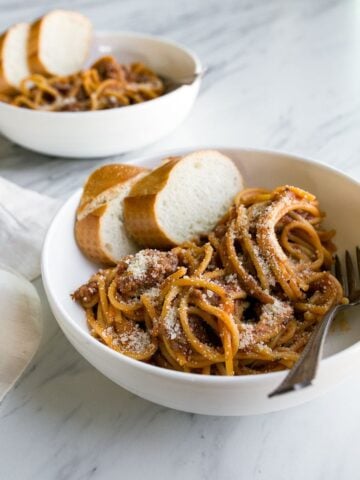
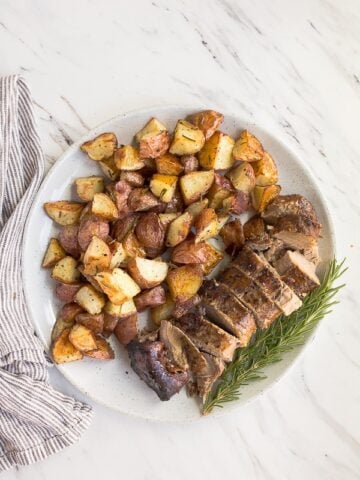
Dinner Recipes for Two
I have the perfect starting point to help you with supper tonight! Browse through these dinner recipes for two to get started.
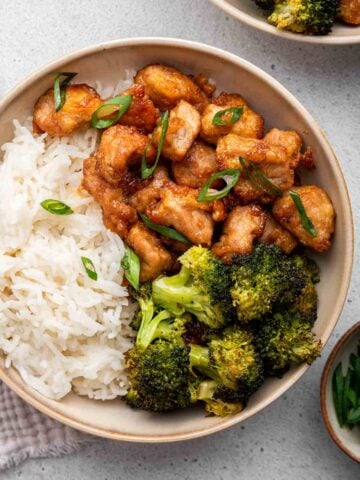

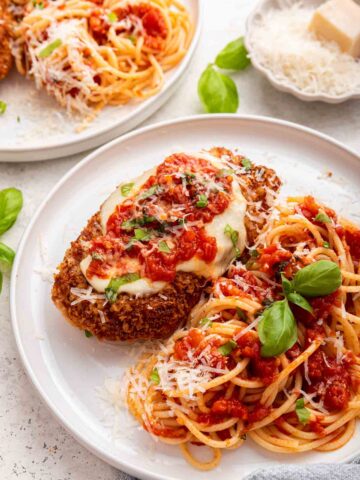

See more DINNER FOR TWO RECIPES →
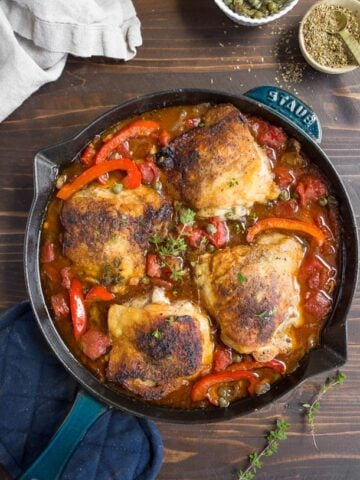
Slow Cooker Recipes for Two
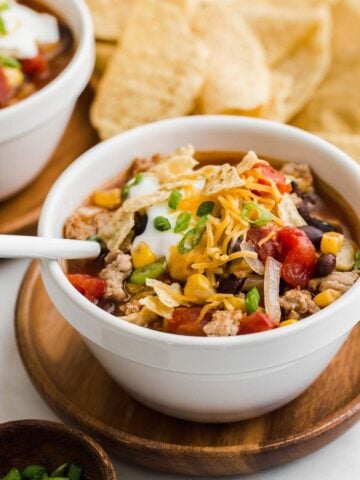
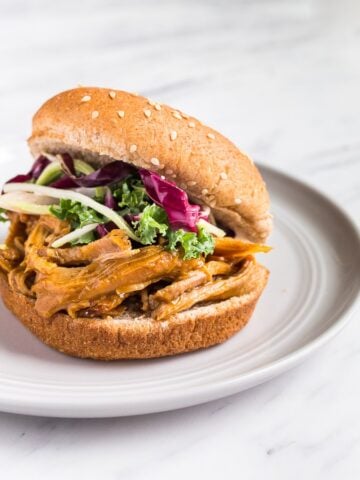
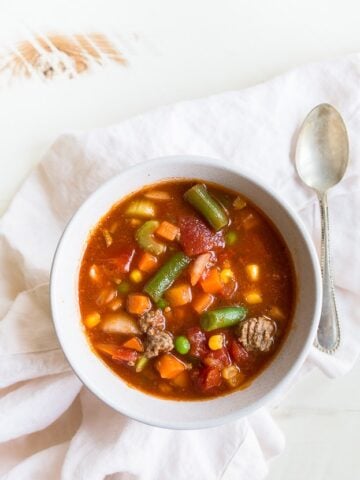
See more SLOW COOKER RECIPES FOR TWO →