
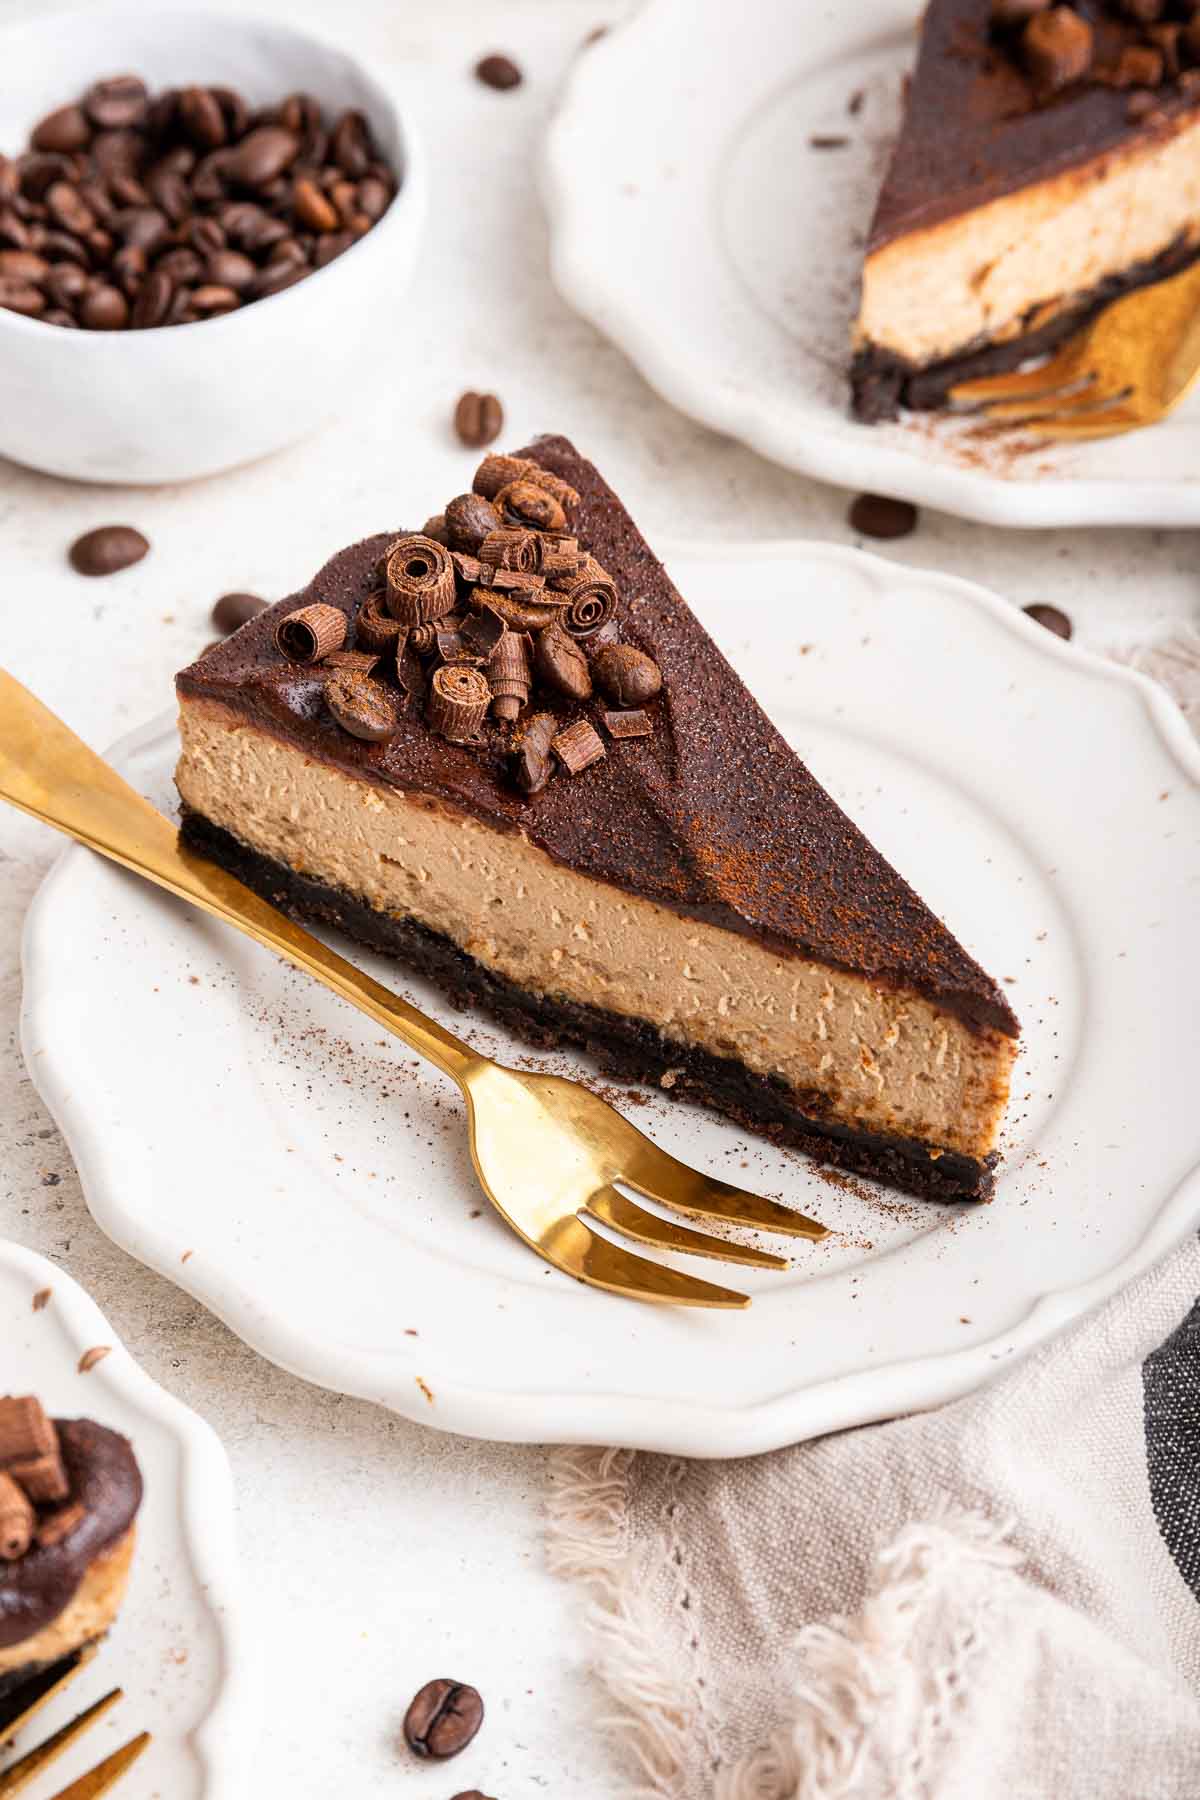
If you need a small but festive holiday dessert for guests that are coffee lovers, this is the perfect recipe. This Coffee Cheesecake is a make-ahead dessert that always impresses. The filling is super creamy with the perfect amount of coffee flavor from just instant espresso powder. If the chocolate on top scares you, don't let it--I will walk you through the process from start to finish.
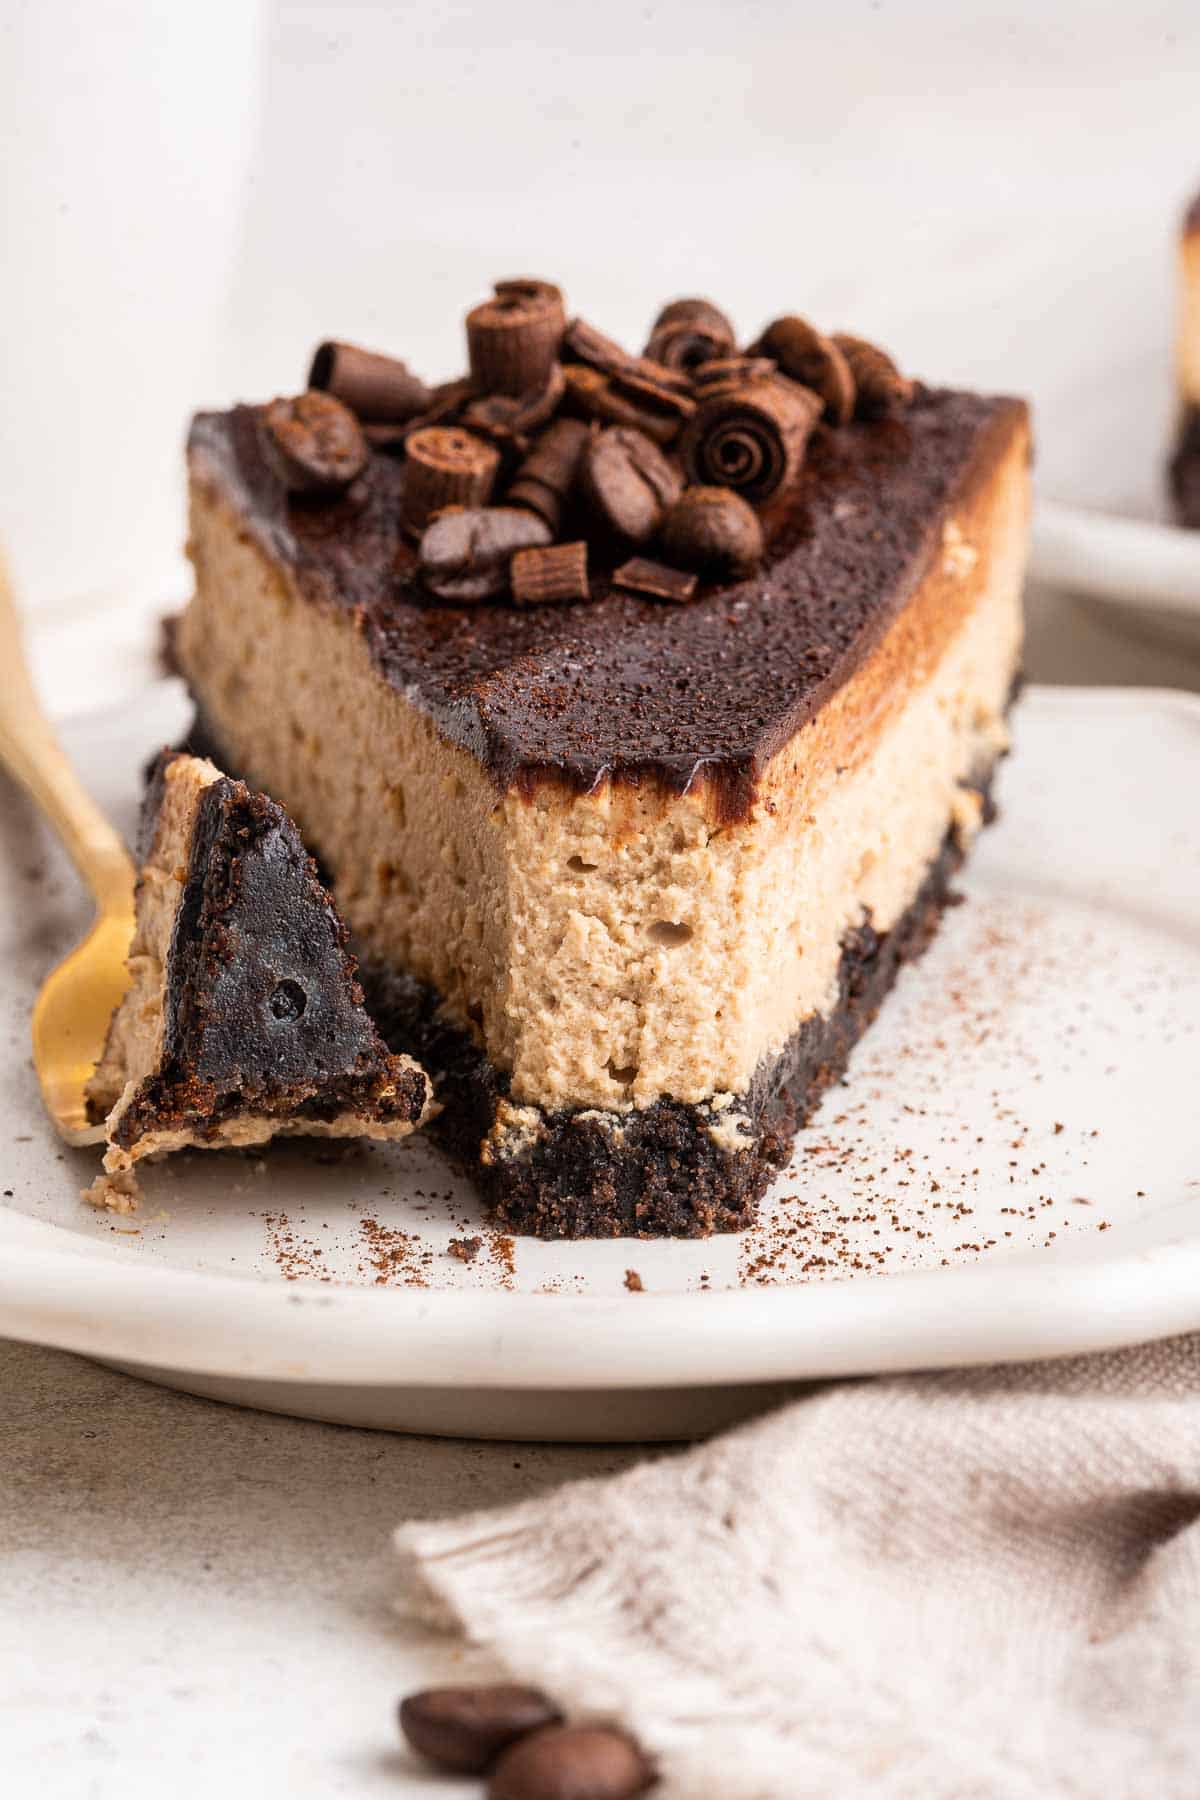
You will absolutely love this creamy coffee cheesecake that is packed with as much coffee flavor as possible. The Oreo cookie crust is incredible, and the filling is so creamy yet light. Plus, all of the coffee flavor comes from instant espresso powder. You don't even have to own a coffee machine or espresso machine to make this recipe!
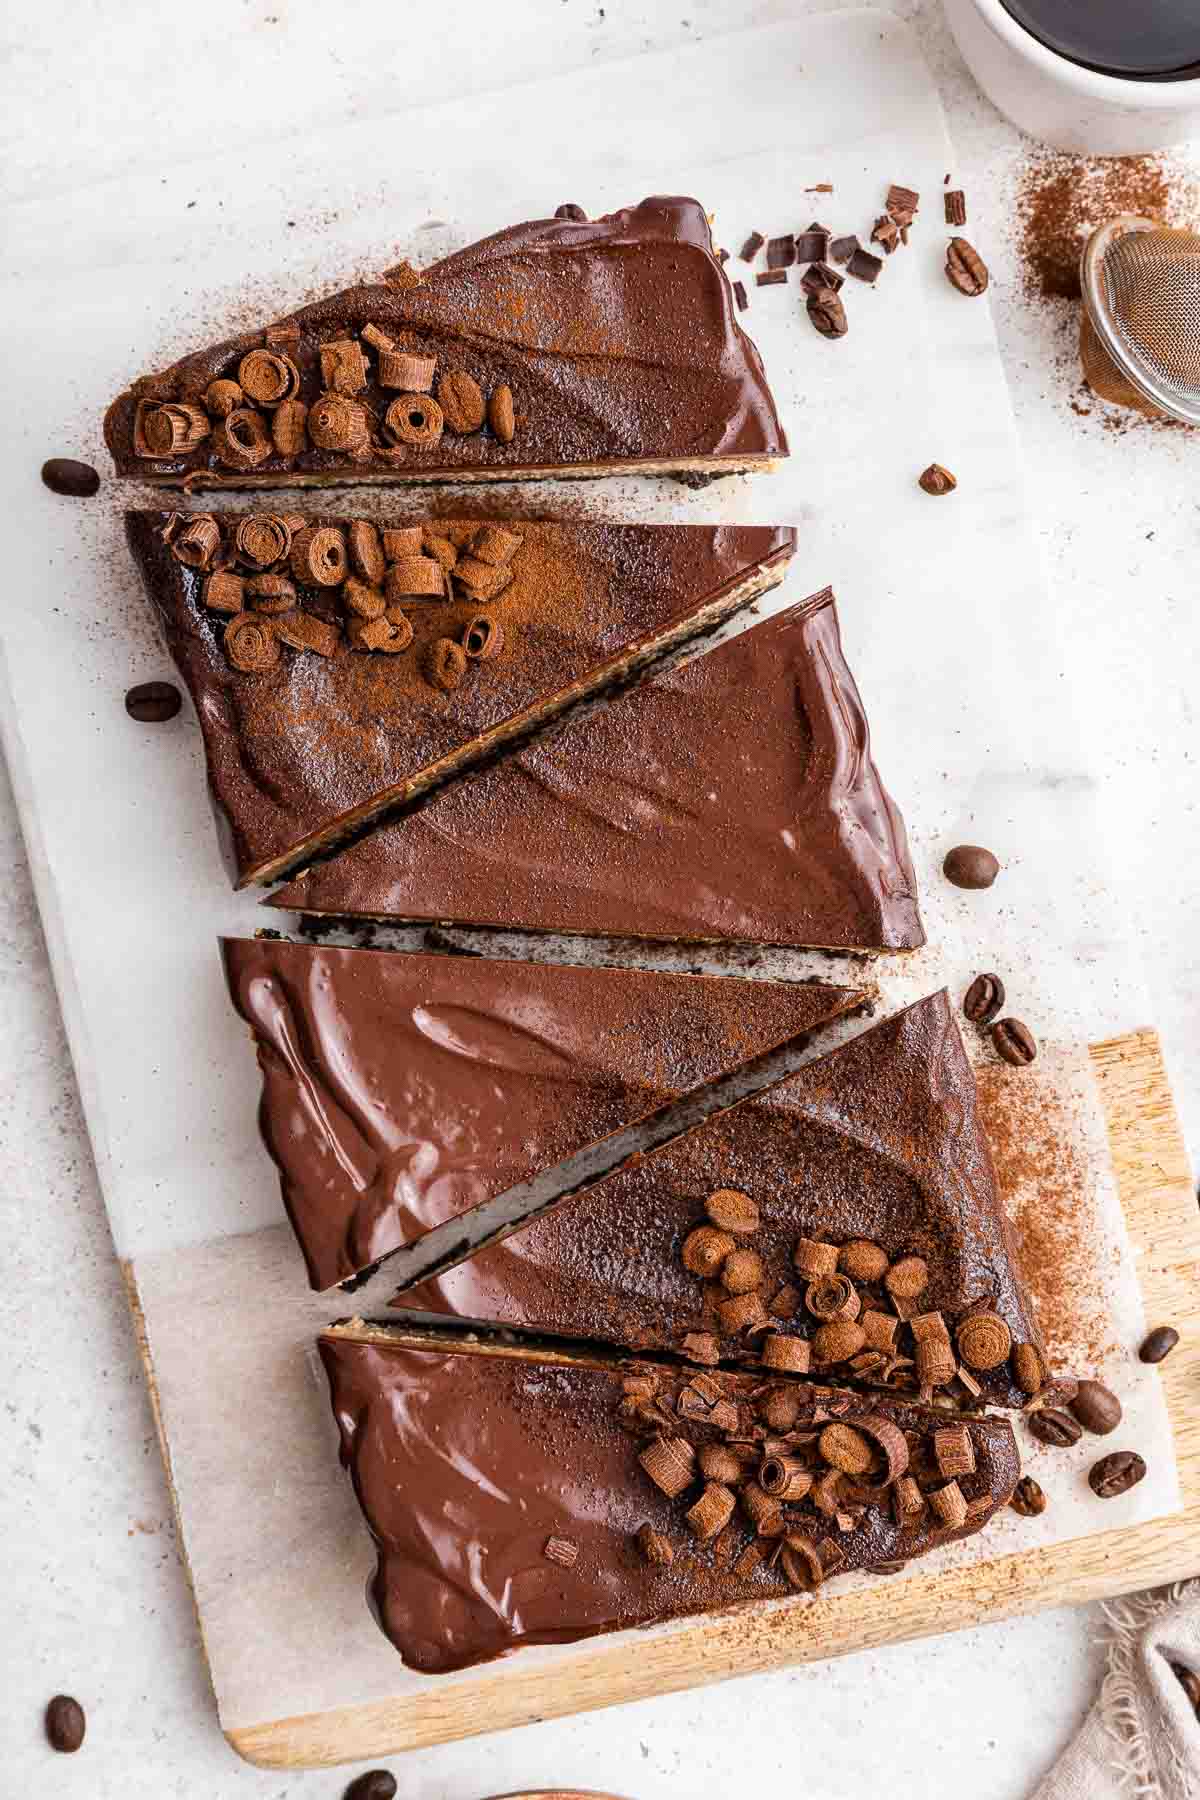
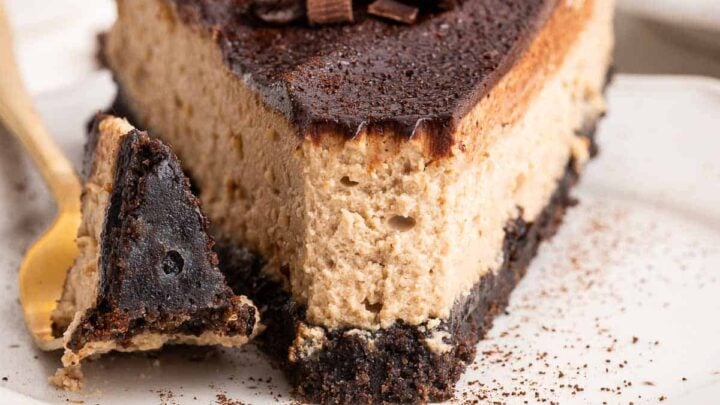
The ways that I have adapted my small loaf pan cheesecake over the years are endless. Even though this is dessert for two, the loaf pan makes 6 small slices of cheesecake. I love this because it's the perfect amount for a dinner party, and because the loaf pan is so much less intimidating than an actual cheesecake pan. I really don't like wrangling the springform pan, and I know that not everyone has one of those special cheesecake pans. So, an 8 or 9-inch bread loaf pan to the rescue!
You can truly use either an 8-inch loaf pan or a 9-inch loaf pan. The 9-inch loaf pan will produce a much flatter, level coffee cheesecake, while the 8-inch pan makes a slightly taller slice. Both are perfectly delicious with similar baking times.
How to tell when cheesecake is done:
For a baked cheesecake like this, know that some wobble in the center is normal. Nudge the pan with a wooden spoon when it's still in the oven--only the very center should be slightly jiggly. If the mixture wobbles and makes waves from all sides of the pan, it needs more time to cook.
Because this cheesecake has a chocolate topping, you can also use my favorite trick: insert the tip of a very thin knife about 1-inch into the cheesecake. It should not come out with any wet batter clinging to it. Some moisture is okay, but wet batter means the cheesecake needs more time.
When the cheesecake comes out of the oven, let it cool to room temperature and then move it to the fridge for the final setting up period. The fridge will firm it up completely to the correct texture, so do not be worried if it's still slightly jiggly when it goes into the fridge.
Coffee Cheesecake Ingredients
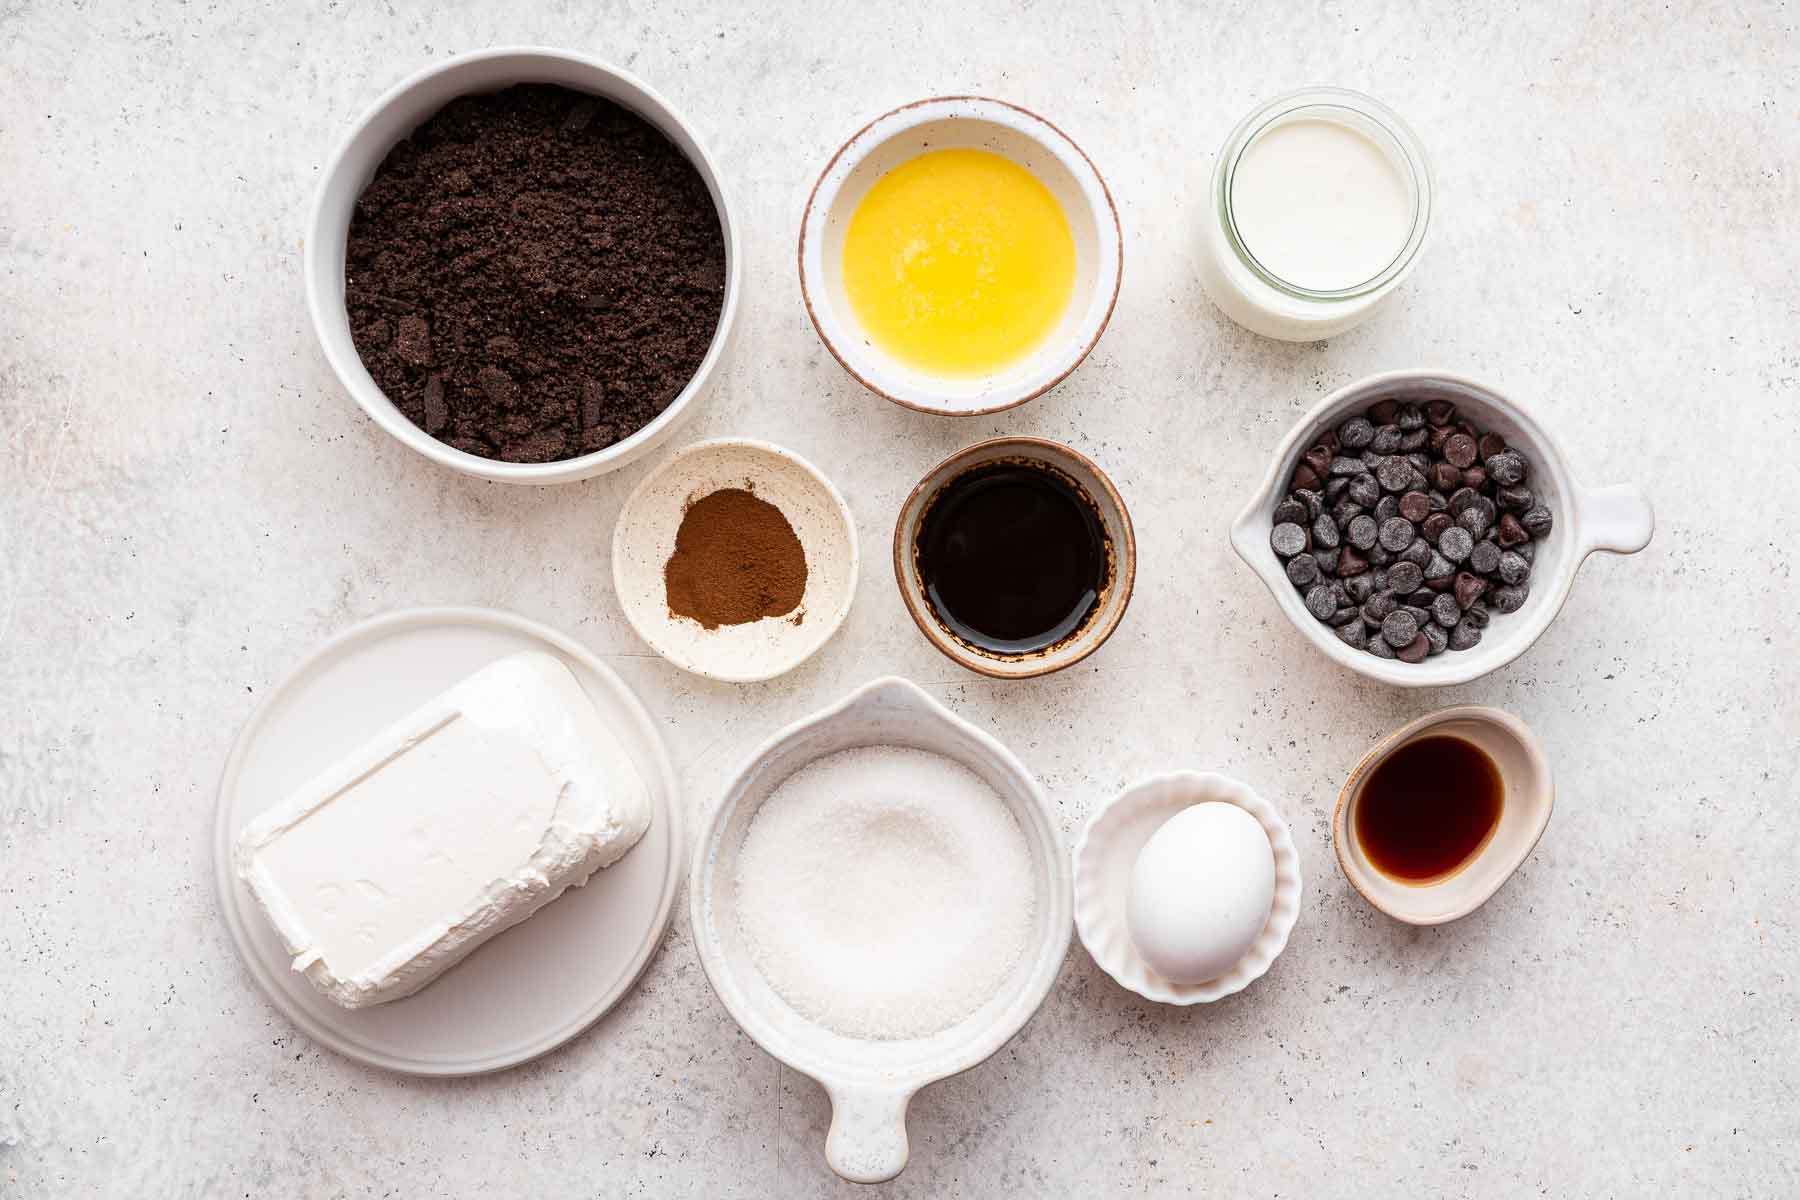
- Oreos. We need 14 whole Oreos that we will crush in a food processor to make the crust on this coffee cheesecake. If you don't have a food processor, you can place them in a plastic bag and crush with a rolling pin until finely ground.
- Instant Espresso Powder. This is the key to achieving maximum coffee flavor in this cheesecake without using any actual coffee! Instant espresso powder is more finely ground and much stronger than instant coffee granules. I use this Medaglia D'Oro brand, and I have seen it at Target, Walmart and almost every grocery store. It's in the aisle next to the instant coffee in a small glass jar with a green label. We're using some in the crust and some in the filling.
- Butter. A small amount of melted butter brings the cookie crust together; we need 3 tablespoons. It can be salted or unsalted, it doesn't matter.
- Cream Cheese. The most important part of making a cheesecake is making sure the cream cheese is fully soft and fully room temperature! If your cream cheese is too cold, it will have lumps, and no--the lumps do not melt in the oven! Remove the wrapper from your cream cheese, dice it into 8 pieces, and leave it on a plate at room temperature for at least 4 hours before using. No lumpy coffee cheesecake, please!
- Sugar. Just ½ cup of granulated white sugar.
- Vanilla. One teaspoon of vanilla brings makes the coffee flavor slightly more pronounced.
- Egg. One large egg that is also at room temperature. Don't let a cold egg solidify your cream cheese and make lumps!
- Chocolate Chips. For the topping, the easiest way to make a ganache topping on a cheesecake is by using one cup of semisweet chocolate chips.
- Cream. To make a perfectly smooth chocolate ganache for cheesecake, heat one cup of heavy cream and stir in the chocoalte chips until melted.
The Instructions
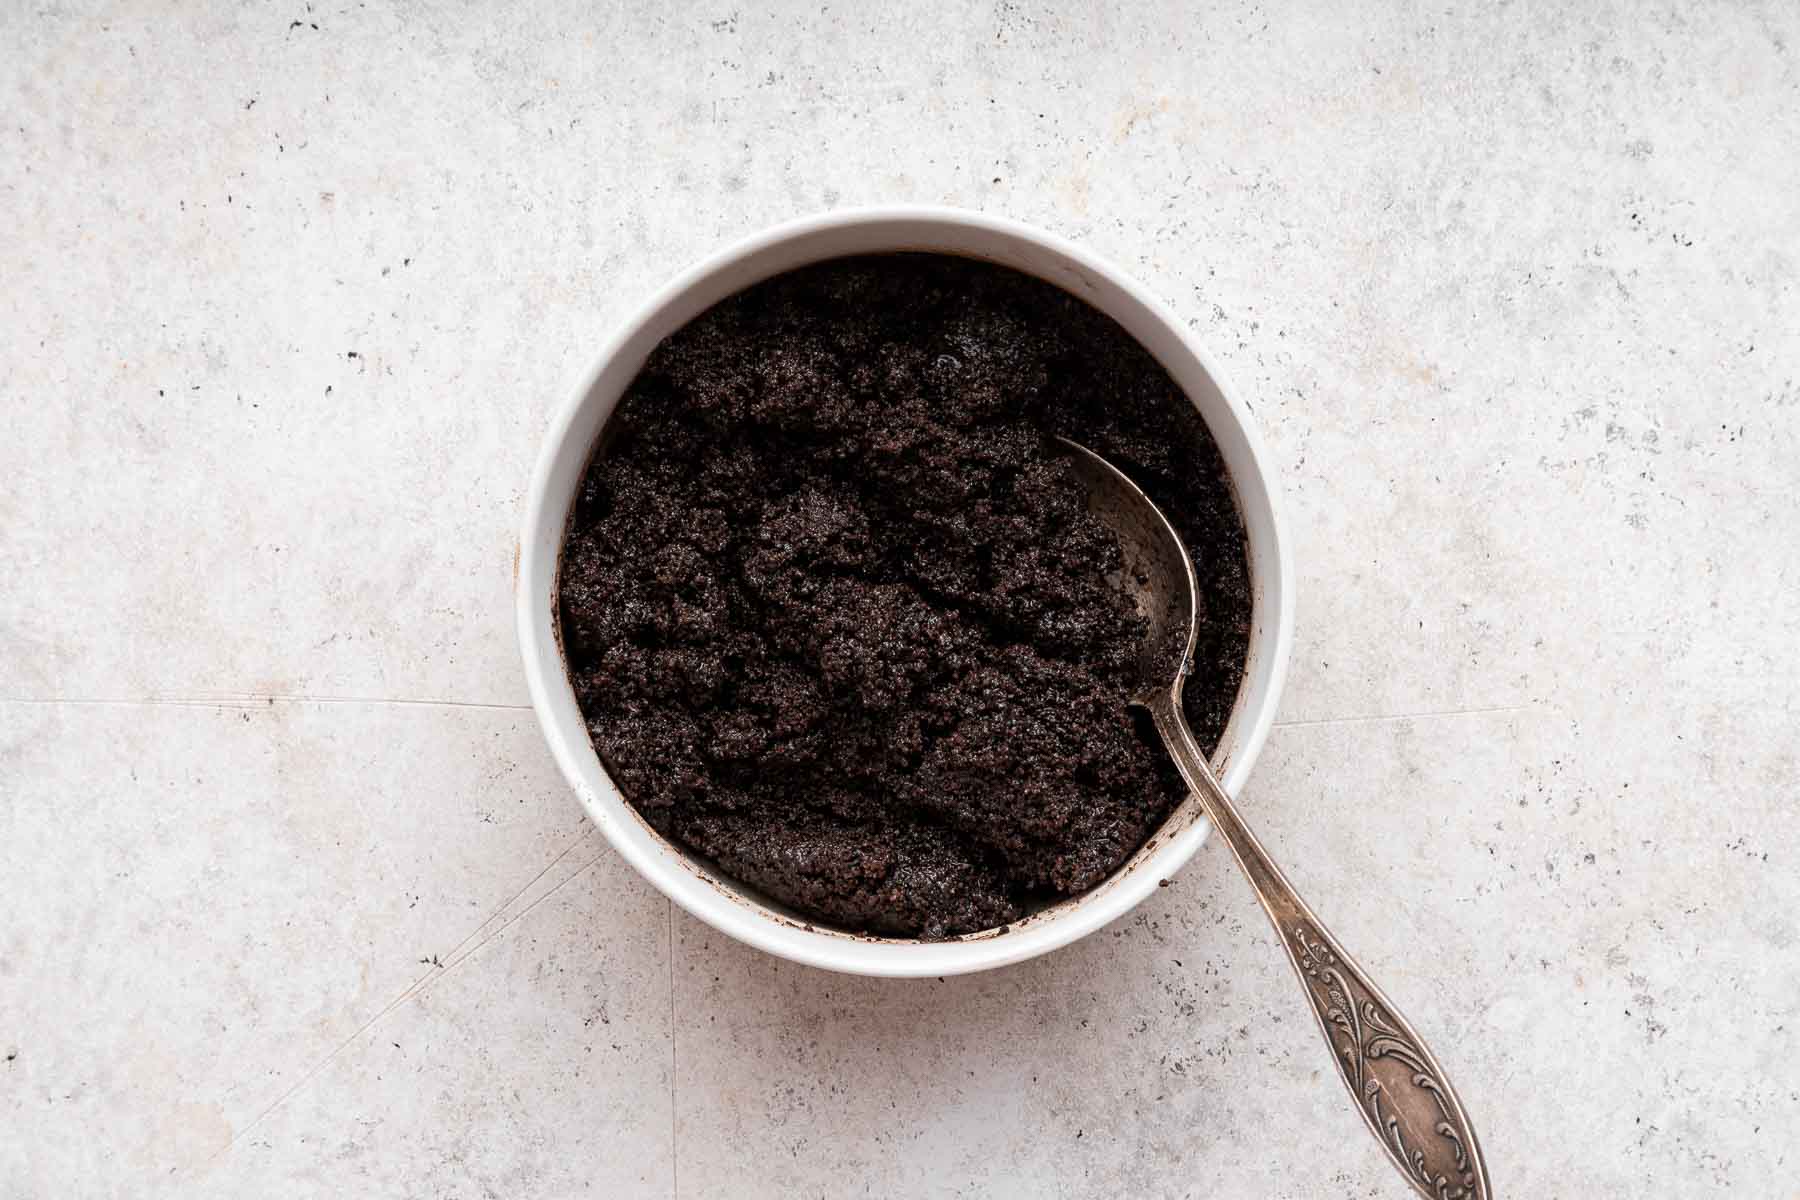
Preheat the oven to 300-degrees. Crush the oreos into a finely ground mixture, and stir in the melted butter and ½ teaspoon of the instant espresso powder. Pour the crust mixture into the loaf pan lined with parchment paper, and press it flat into an even layer.
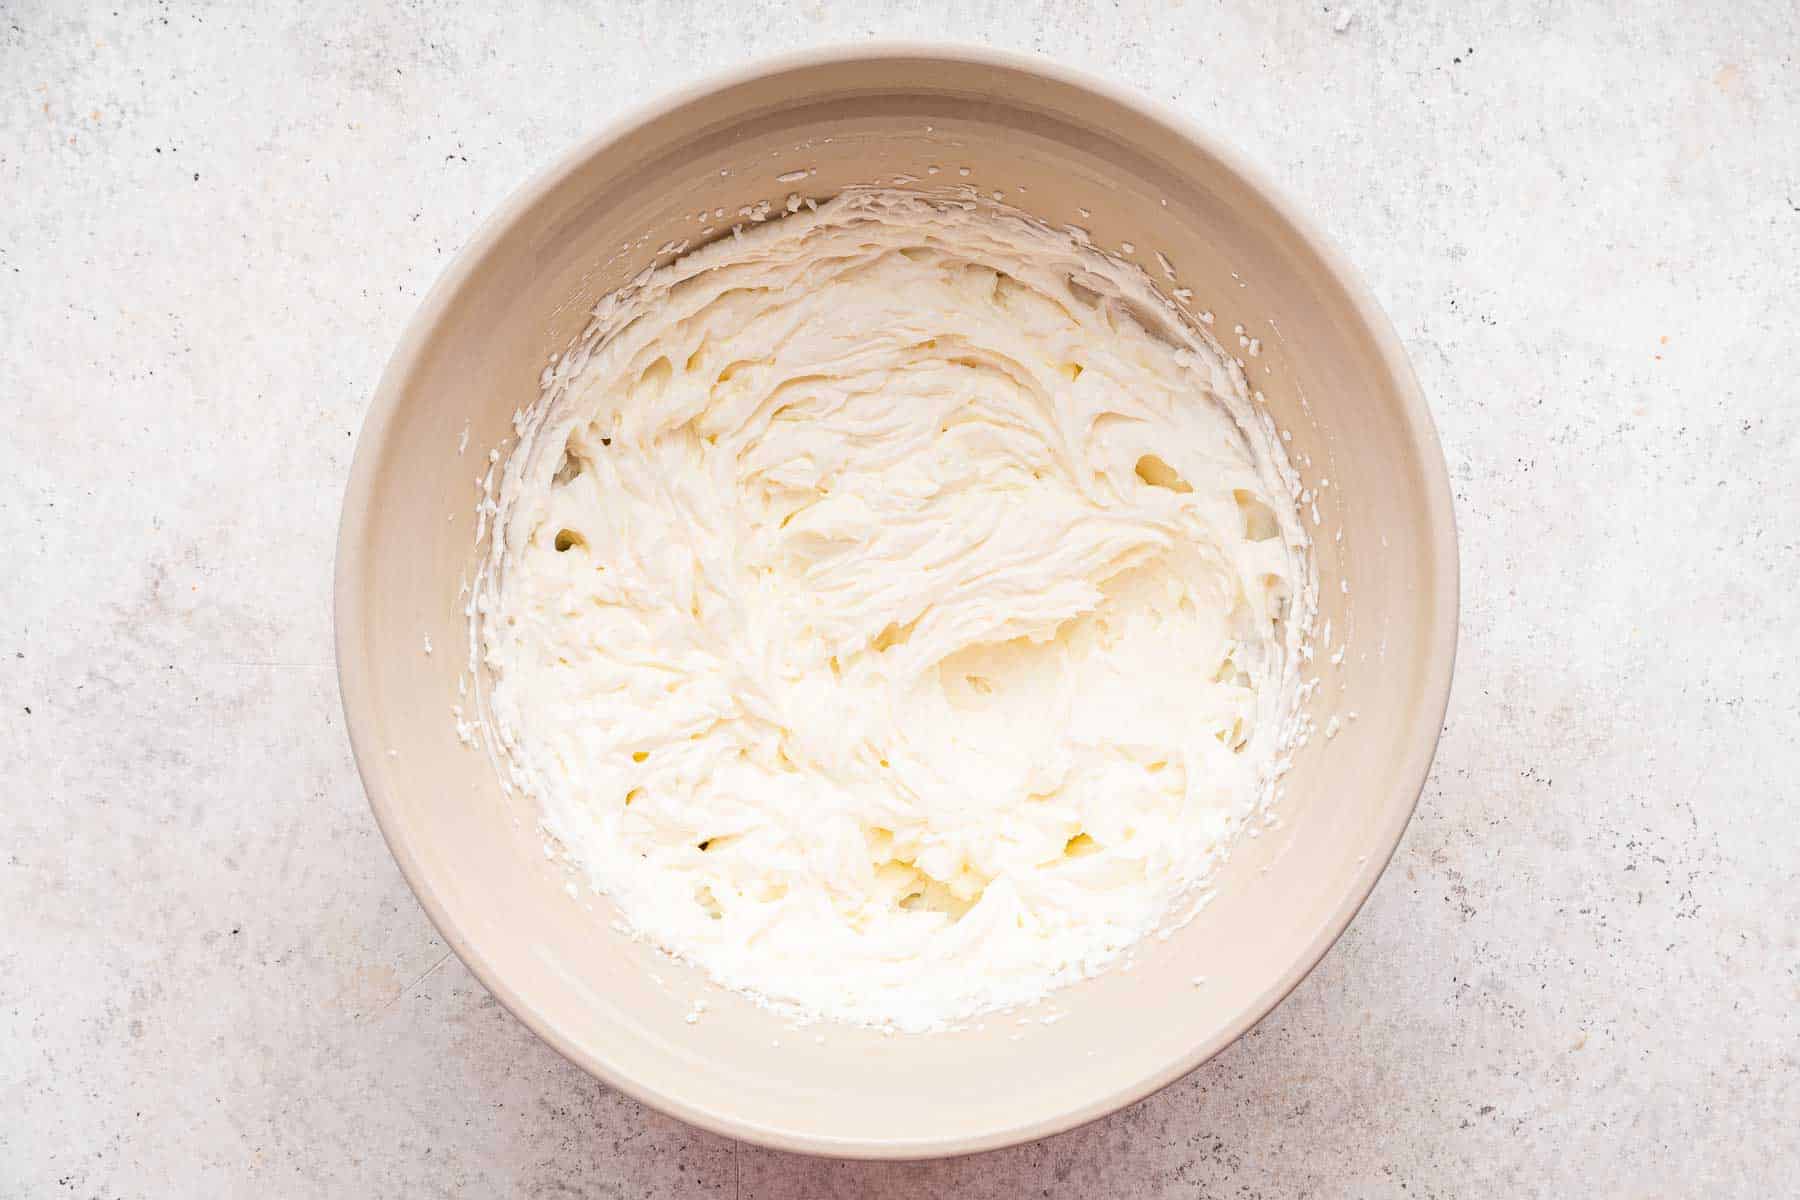
Next, beat together the softened cream cheese and sugar until light and fluffy and no lumps remain.
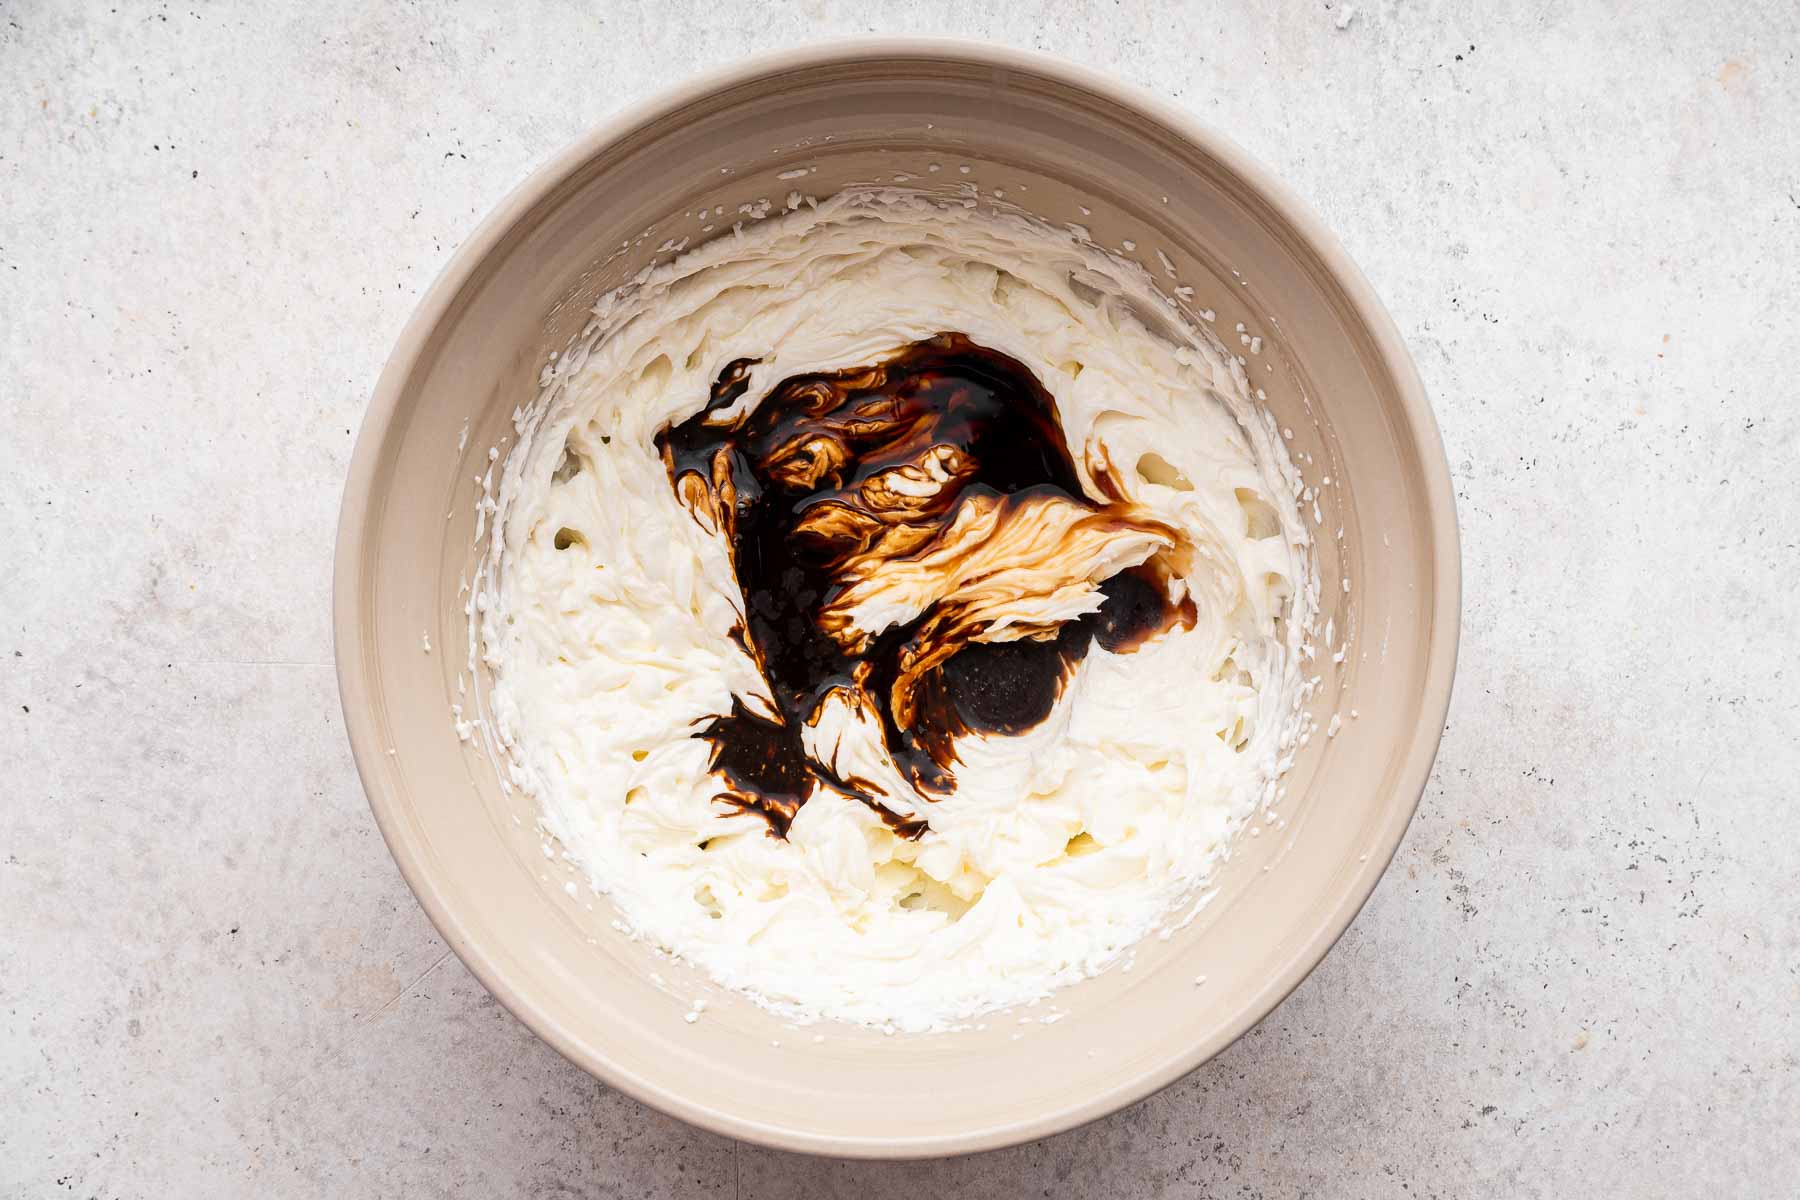
Add the vanilla and espresso powder that you dissolved in 1 tablespoon of warm water to the bowl, and beat again to combine. Finally, add the egg but do not beat very much after the egg is added so that the batter isn't overinflated.
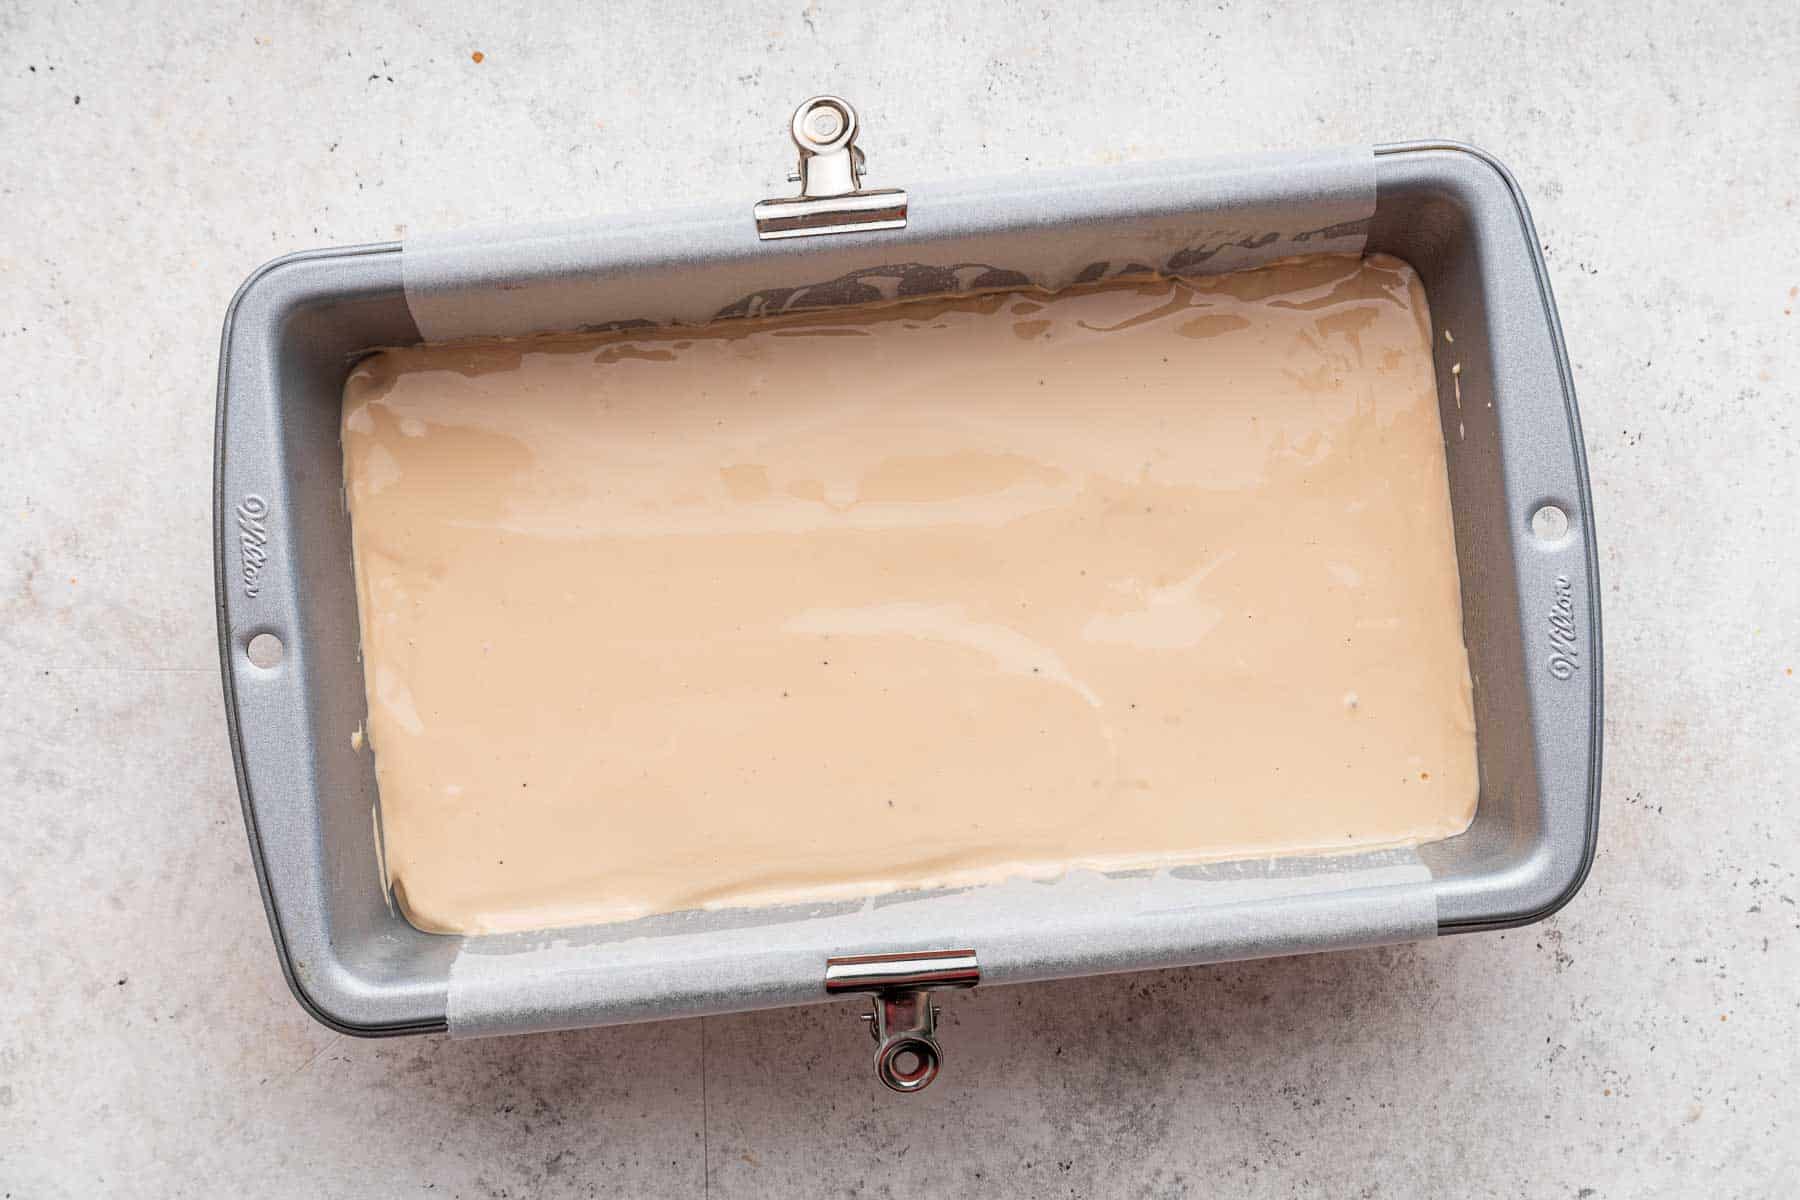
Pour the batter into the crust, and bake the cheesecake for 30-35 minutes, until the top is set but not overly sticky. If you insert a knife tip, it should not come out with wet batter, though the very center will be slightly jiggly.
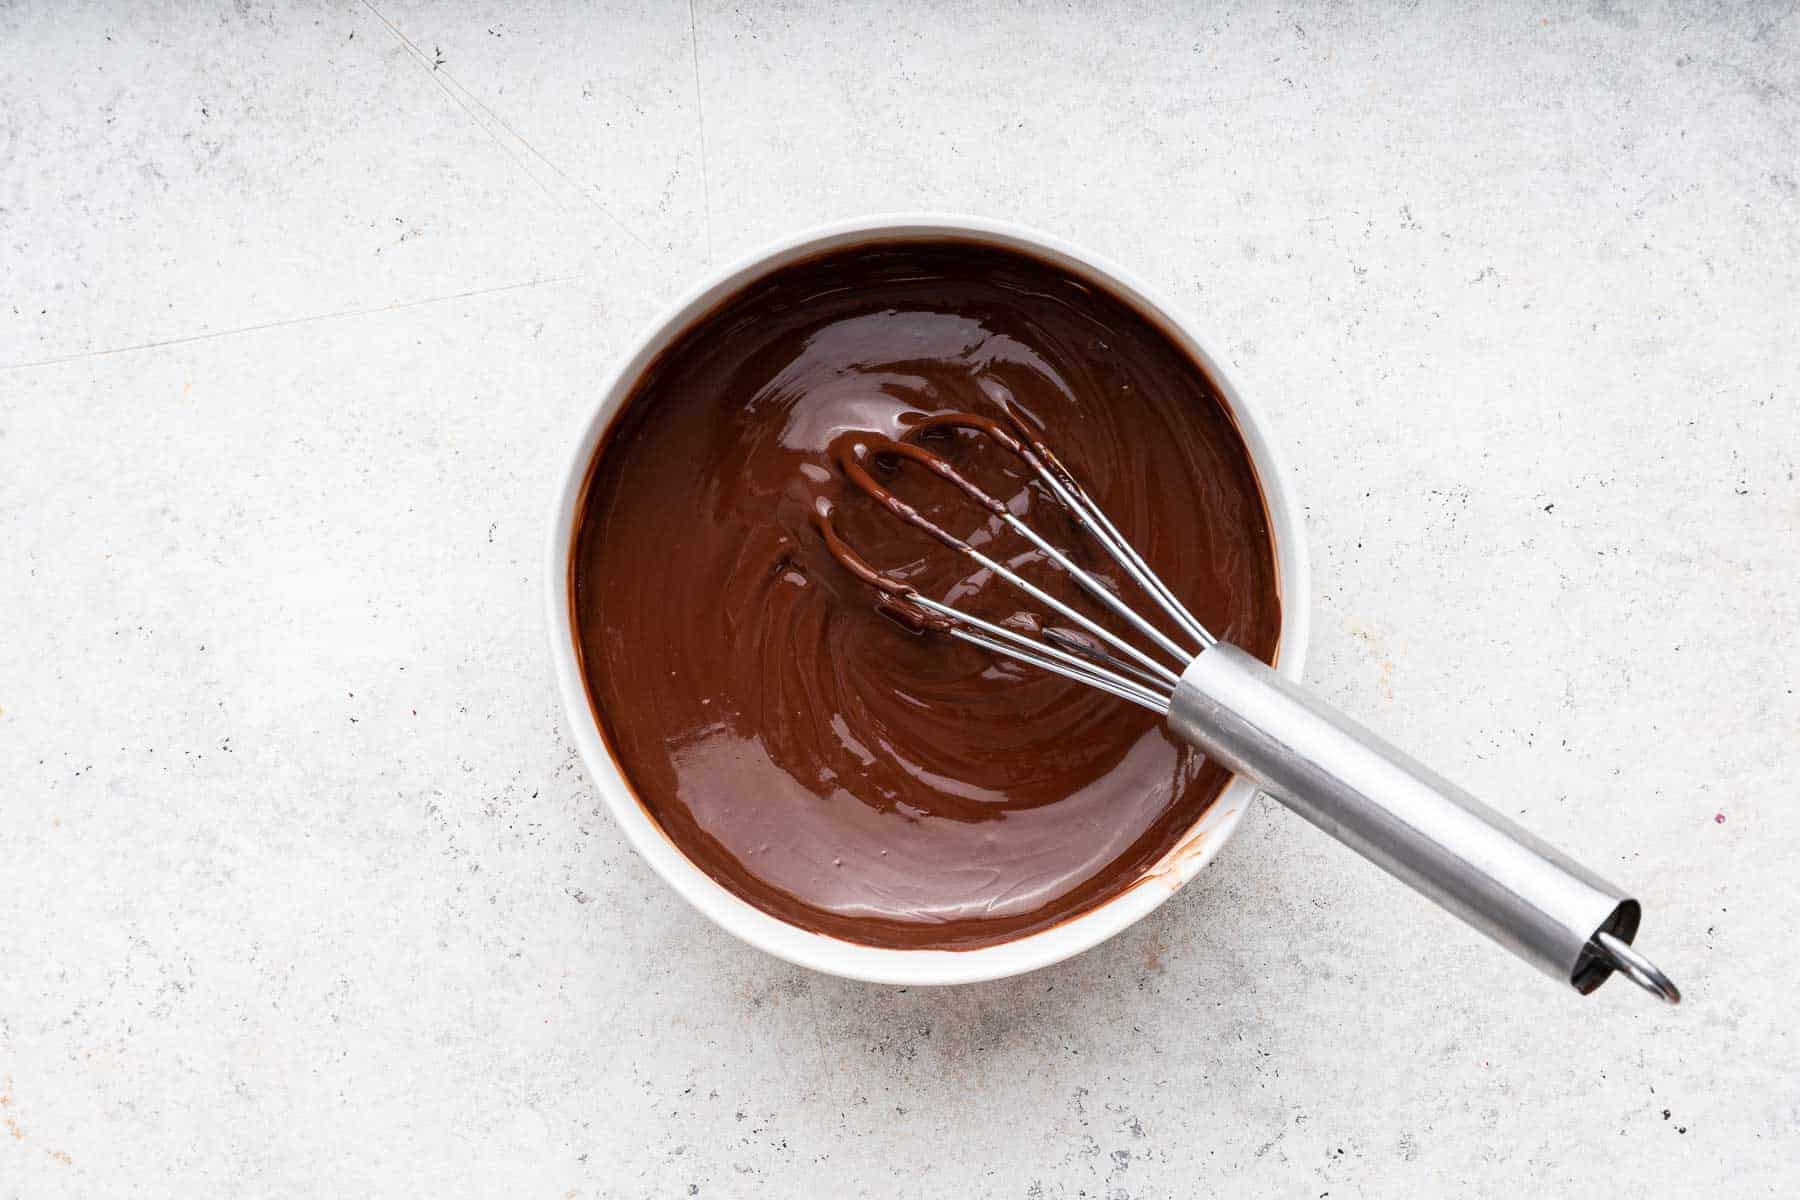
Let the cheesecake cool until room temperature, and then place in fridge for at least 4 hours. Before serving, heat the heavy cream in a small pot until bubbles just begin to form around the edge. Do not let it boil.
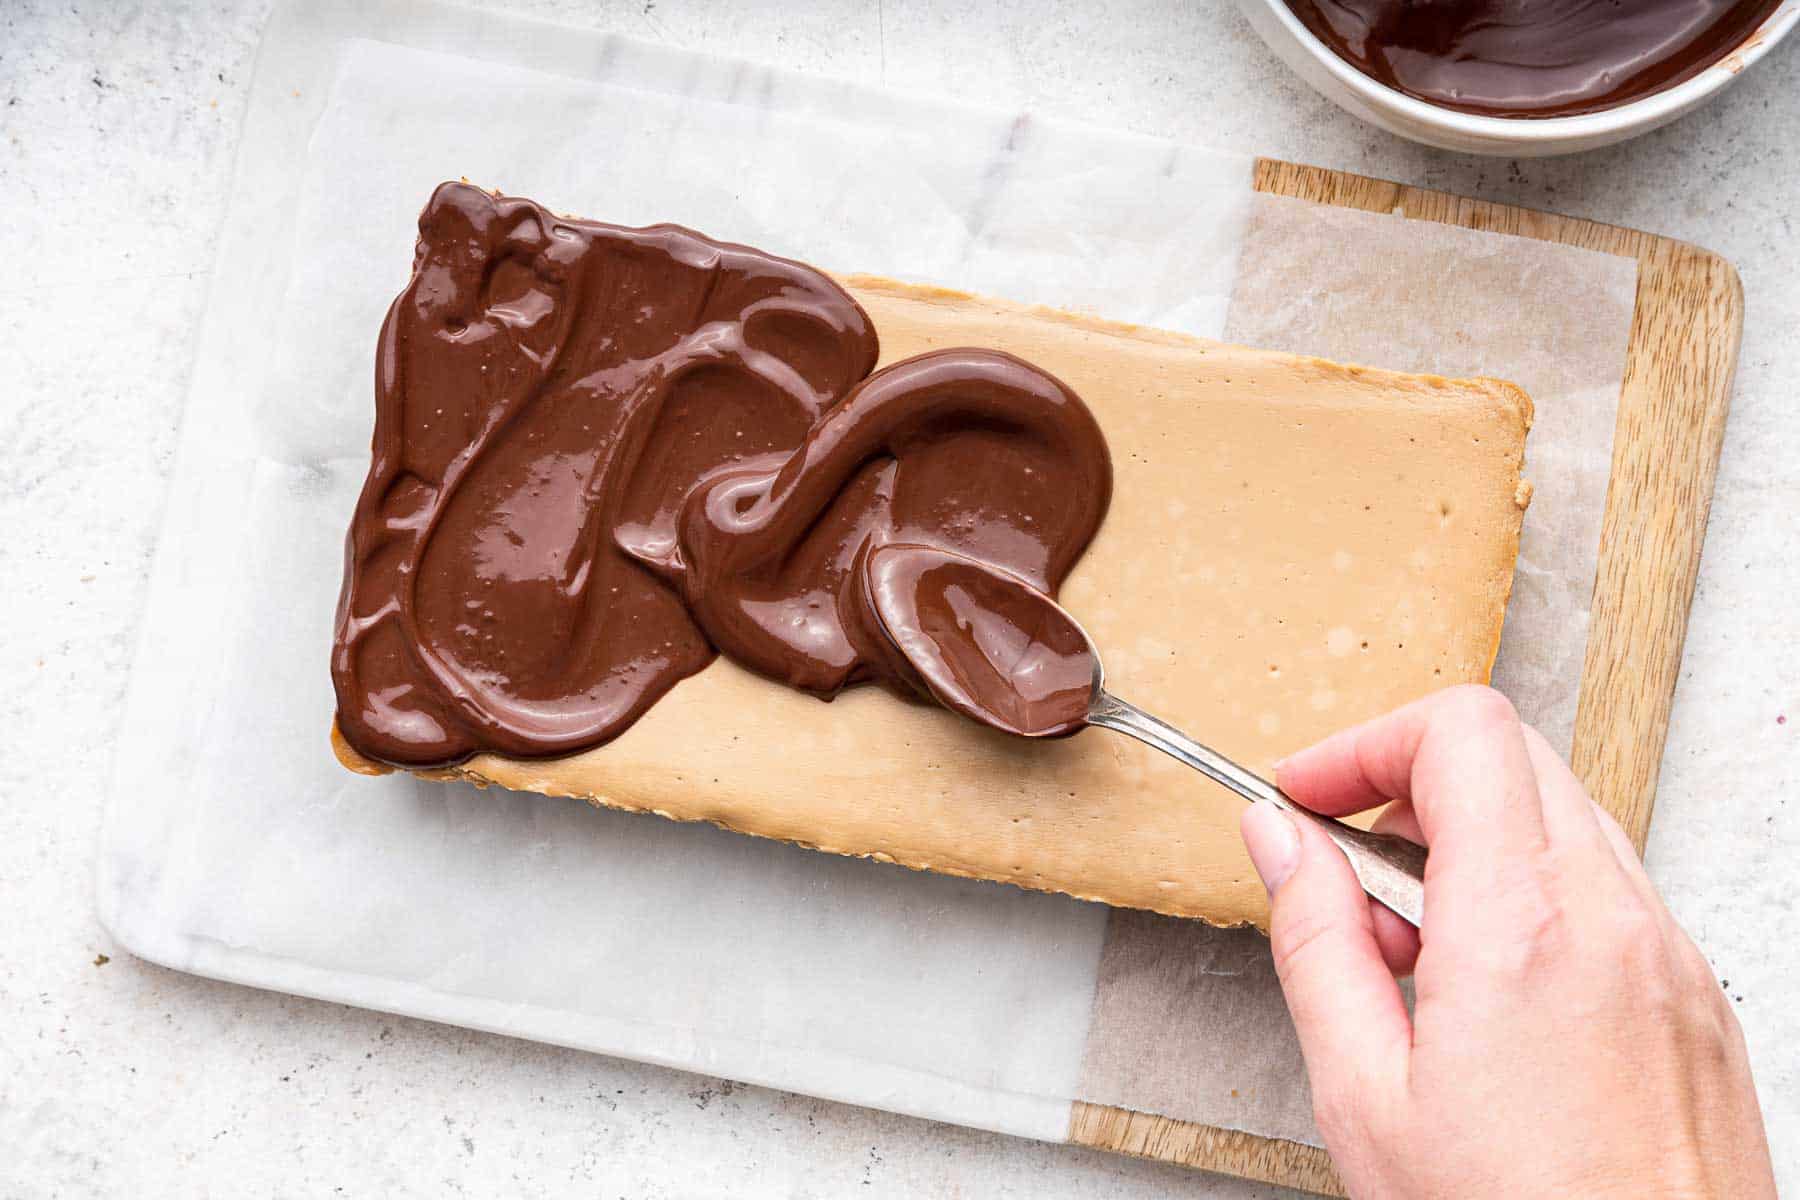
Off heat, stir in the chocolate chips until they melt. Let cool slightly and smooth over top of cheesecake. Slice into 6 even slices and serve.
Other cheesecakes you might love:
- No Bake Blueberry Cheesecake
- Chocolate Orange Cheesecake
- No Bake Chocolate Cheesecake
- Lemon Blueberry Cheesecake
Coffee Cheesecake
Creamy baked coffee cheesecake made without a water bath. Just needs instant espresso powder for flavoring!
Ingredients
For the crust:
- 14 whole oreos
- ½ teaspoon instant espresso powder
- 3 tablespoons unsalted butter, melted
For the cheesecake:
- 2 8-ounce packages of cream cheese, at room temperature
- ½ cup sugar
- 1 teaspoon vanilla
- 1 tablespoon instant espresso powder
- 1 large egg, at room temperature
For the topping:
- 1 cup chocolate chips
- 1 cup of heavy cream
Instructions
- Preheat the oven to 300, and line a 9 x 5 x 3-inch loaf pan with parchment paper. It doesn't have to cover all sides--just the two longest sides. Brush a light layer of oil on the exposed sides to help the cheesecake not stick.
- First, make the crust: crush the oreos either in a food processor or in a plastic bag with a rolling pin. Then, in a medium bowl, stir together the crushed cookies, espresso powder and melted butter. The mixture will be very thick and paste-like. Press it evenly into the bottom of the loaf pan.
- Using an electric mixer on medium speed, beat together the room temperature cream cheese and sugar until light and fluffy.
- Dissolve the instant espresso powder in one tablespoon of warm water.
- Add the vanilla and espresso mixture to the bowl with the cream cheese, and mix until combined.
- Finally, add the egg. Do not beat the mixture with the egg for too long, because it can create too much air and make the cheesecake crack.
- Pour the cheesecake mixture over the crust. Bake the cheesecake for 30-35 minutes, until the entire surface is set and not sticky. A toothpick inserted should not come out with wet batter.
- Let the cheesecake cool near the oven (drastic temperature changes cause cracks in cheesecake). Once fully cooled, move to the refrigerator for at least 4 hours.
- Next, bring the cream to a gentle simmer in a small saucepan--do not boil. Have the chocolate chips in a separate small bowl, and pour the hot cream on top. Let sit for 1 minute, then whisk to dissolve.
- Spread the chocolate mixture on top of the cheesecake, chill for a few minutes to set the chocolate slice and serve.
Nutrition Information:
Yield:
6Serving Size:
1Amount Per Serving: Calories: 798Total Fat: 61gSaturated Fat: 35gTrans Fat: 1gUnsaturated Fat: 21gCholesterol: 167mgSodium: 373mgCarbohydrates: 61gFiber: 3gSugar: 48gProtein: 10g
Dawn says
I made this for a small family gathering this weekend. It was delightful! The coffee cheesecake filling was so creamy and delicious.
Kris Marie says
Hi, what flavor chocolate chips do you use? Semi-sweet or milk chocolate? Thank you.
Kris Marie says
This was absolutely delicious! Thank you for another awesome recipe!