Instant pot pumpkin cheesecake is my new favorite thing to do with my Instant Pot mini during fall. A rich and creamy pumpkin spice cheesecake with real pumpkin, baked in a 6" springform pan. Ample instructions for a perfect result!
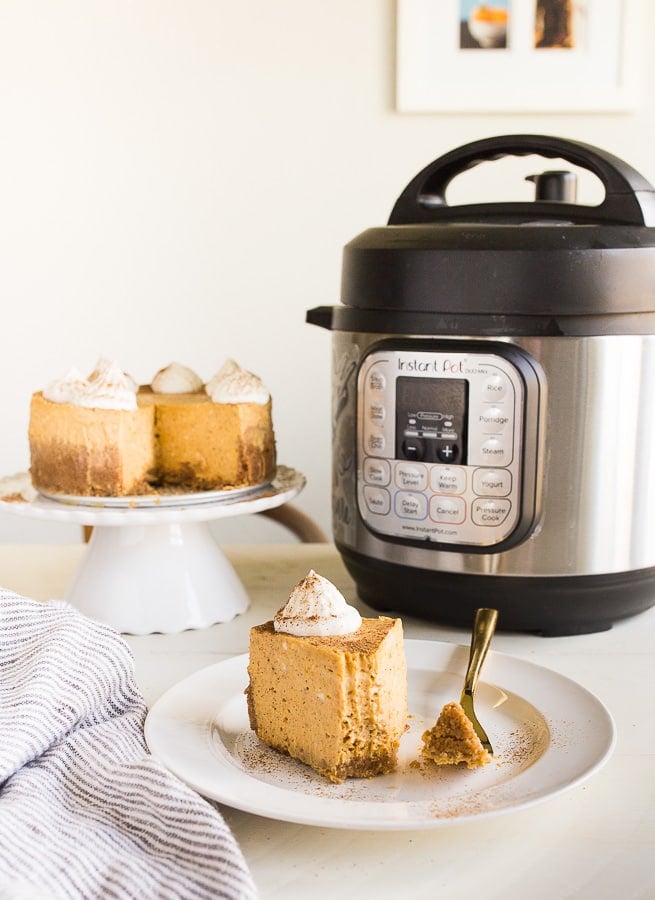
Instant Pot Pumpkin Cheesecake
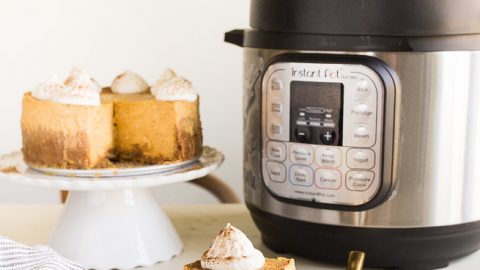
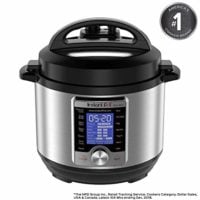
As the reigning queen of Instant Pot Mini recipes, I'm so happy to bring you a sweet Fall recipe! This is actually my very first dessert recipe for the instant pot mini for Fall. This is the Instant Pot 3-quart mini machine that I use, by the way.
I'm dreaming up more Fall pressure cooker desserts, if you have any requests? It's hard to know if my carrot cake cheesecake is for the Spring or Fall, because we use it a lot for Fall birthdays in my house!
Never mind the fact that I live in Texas and we're still nearing 100-degrees everyday, and we're hanging out by the pool for desperate relief. It is still nearly the first day of Fall, so we will celebrate with pumpkin, regardless.
The thing about an instant pot pumpkin cheesecake is that it's cool and creamy, so it totally helps!
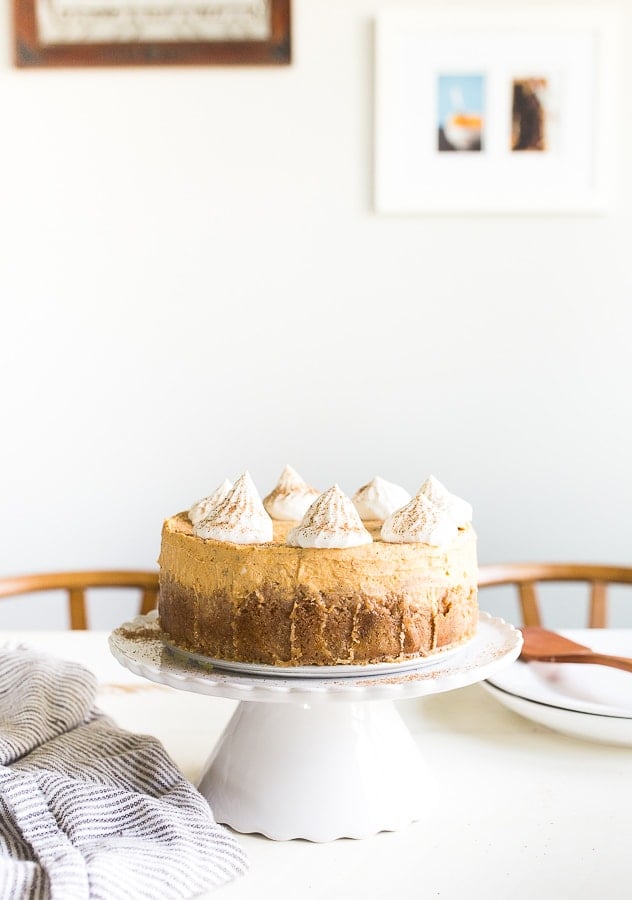
I adapted this recipe from my instant pot mini cheesecake recipe, but included pumpkin and spices for a totally new feel. That recipe includes heavy cream for a perfectly creamy result, but this one relies on canned pumpkin instead.
I have no idea if you could use homemade pumpkin puree; I wouldn't use it because I'm afraid it has too much water in it. The last thing I want for you is a soggy cheesecake!
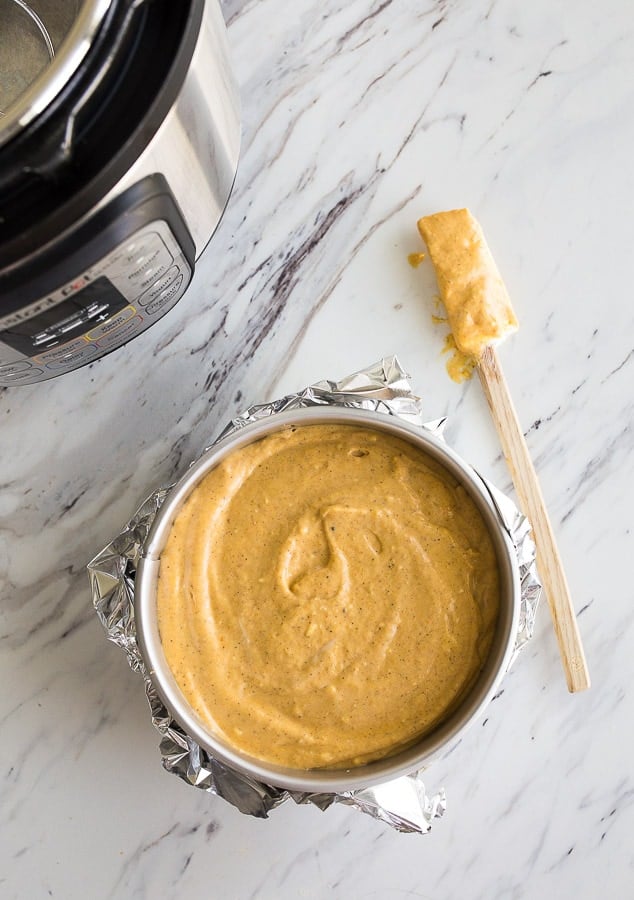
Pressure cooker pumpkin cheesecake tips:
- All instant pot pumpkin cheesecake ingredients need to be at room temperature, please--including eggs!
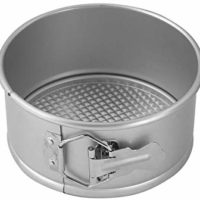
- Line the springform pan with foil on the outside to keep any water from touching the crust. You'll have to press the foil mostly flat to make sure the pan still fits inside the instant pot mini. It's a tight fit! THIS is the 6" springform pan I use for baking in the instant pot mini. It fits perfectly, but just barely!
- I make a little tent foil for the top of the cheesecake. I make a tent shape so any steam drips away from the surface of the cheesecake and down the edges. You don't want water pooling on the top of your cheesecake!
- After the natural pressure release, if there's a small amount of water on the top of your cheesecake--it's ok! Just use a paper towel to gently blot it dry. Often just letting the edge of the paper towel touch the surface will soak up the water.
- I recommend chilling the cheesecake fully overnight before slicing. I know waiting is hard, but I want a perfect texture cheesecake for you.
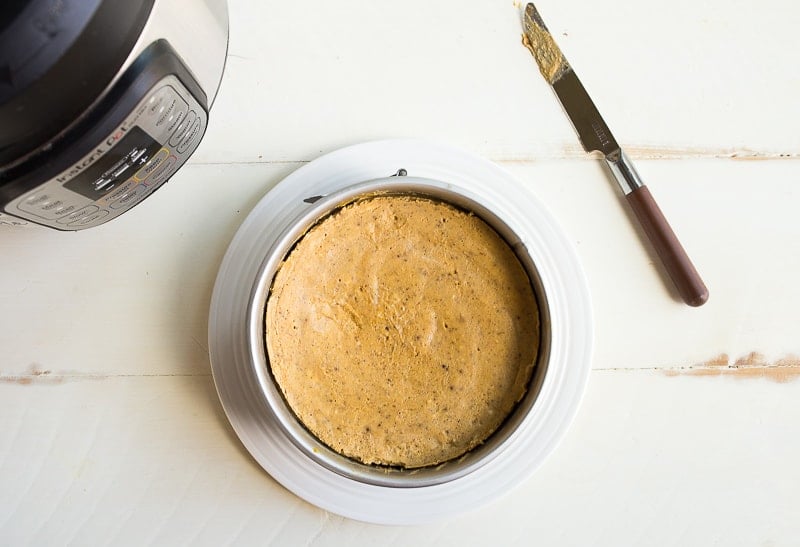
How to ensure a cheesecake without cracks
If I had to brag about myself to someone I didn't know, I would lead with my ability to make perfect cheesecakes that never crack. I believe my ability is not an inherent talent, but instead, a skill that I've honed over the years.
My cheesecakes don't crack for a few reasons: mainly, I don't over-beat. While I do beat my cheesecake ingredients together with an electric hand mixer, I stop short when the ingredients are homogenous. Continuously beating cheesecake batter inflates the eggs with air, which has nowhere to escape in the oven except in the form of bubbles. These bubbles pop and can cause cracks.
This is also true for my pumpkin cheesecake bars.
I let my cheesecakes cool slowly. Drastic temperature changes can make the cheesecake pull away from the sides of the pan quickly, which might lead to cracks. The beauty of making cheesecake in a pressure cooker is that the 'natural pressure release' helps with this process!
However, if you over-beat or accidentally do a forced pressure release, just pour caramel over the top of the cheesecake to hide any cracks.
If you're not up for instant pot, try my mini pumpkin cheesecakes in a muffin pan! Or, my plain small batch vanilla cheesecake in a loaf pan is a great place to start, too.
Instant Pot Pumpkin Cheesecake
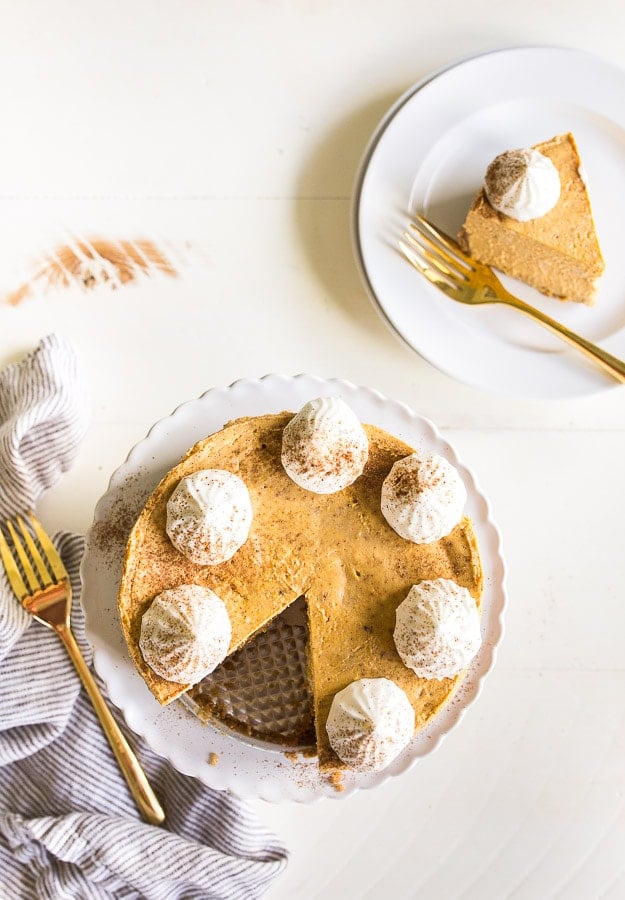
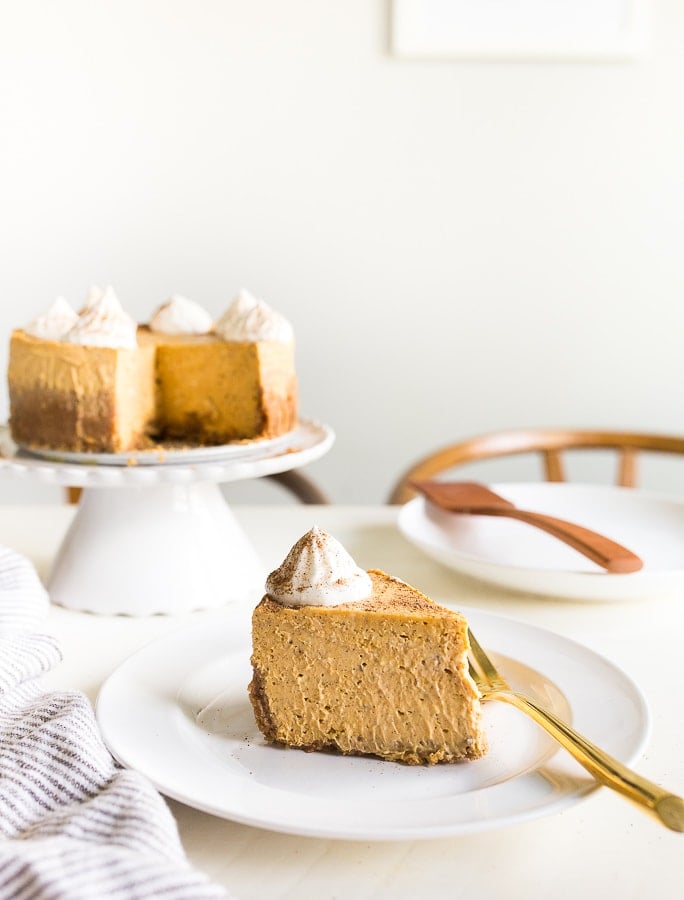
Instant pot pumpkin cheesecake made in the instant pot mini.
Ingredients
For the crust:
- 7 whole graham cracker sheets (or ¾ cup of graham cracker crumbs)
- 1 tablespoon granulated sugar
- 3 tablespoons (1.5 ounces) unsalted butter, melted
- ½ teaspoon pumpkin pie spice
- neutral oil, for greasing the pan
For the pumpkin cheesecake:
- 2 8-ounce packages of cream cheese, at room temperature
- ½ cup granulated sugar
- 2 large eggs, at room temperature
- 1 teaspoon vanilla extract
- 1 teaspoon pumpkin pie spice
- 1 cup canned pumpkin puree*
- whipped cream, for serving
Instructions
1. First, make the crust: pulse the graham cracker sheets in a food processor to crush them. Add the sugar, melted butter and pumpkin pie spice, and pulse to combine. Alternatively, if you’re using graham cracker crumbs from the box, stir the crumbs, sugar and melted butter together in a small bowl.
2. Next, brush the oil all over the sides and bottom of a 6x3” springform pan. Press the crumbs into the pan, making a thin layer on the bottom, and bringing the crumbs up the sides of the pan by about an inch or so.
3. Wrap the bottom and sides of the pan in foil, and set aside.
4. Next, make the filling: In a large bowl, add the room temperature cream cheese. Beat with an electric hand mixer for about 15 seconds to break it up.
5. Slowly start streaming in the sugar while beating. Follow it up with the eggs, one at a time.
6. Finally, beat in the vanilla, pumpkin pie spice and canned pumpkin. Don’t over-beat the mixture or you’ll create air bubbles in the batter.
7. Place the metal trivet in the bottom of your Instant Pot Mini 3-quart machine. The Instant Pot comes with this trivet--do not skip this step! Add 1 cup of water to the instant pot—it should just barely touch the bottom of the trivet.
8. Next, carefully lower the springform pan into the Instant Pot, smoothing the foil around the pan to make it fit. It will be a tight fit!
9. Once the pan is in, pour the cheesecake filling carefully into the pan. It comes above the crust.
10. Take a small piece of foil and make a 'tent shape' over the top of the cheesecake. This will help steam roll off and away from the surface of your cheesecake instead of pooling on top!
11. Lock the lid of the Instant Pot in place, and turn the valve to ‘SEALING.’ Press ‘PRESSURE COOK’ and make sure it’s on HIGH. Enter 30 minutes, and make sure ‘KEEP WARM’ is off.
12. Let the cheesecake pressure cook for 30 minutes, and once the timer goes off, leave it to do a natural pressure release for at least 20 minutes.
13. Remove the lid, and let the cheesecake cool in the Instant Pot until it's cool enough for you to lift it out, about an hour. If any water is on the surface of the cheesecake, gently lay a paper towel on top and allow it to soak up the water.
14. Next, chill the cheesecake in the fridge for at least 8 hours before serving.
15. To serve: sprinkle with extra pumpkin pie spice, and dollop whipped cream on top of each slice.
Notes
*I really recommend canned pumpkin, not homemade pumpkin puree, which can be watery.
The 6" springform pan that fits perfectly into the Instant Pot Mini is linked below.
Recommended Products
As an Amazon Associate and member of other affiliate programs, I earn from qualifying purchases.
Nutrition Information:
Yield:
6Serving Size:
1Amount Per Serving: Calories: 527Total Fat: 38gSaturated Fat: 20gTrans Fat: 0gUnsaturated Fat: 14gCholesterol: 154mgSodium: 390mgCarbohydrates: 40gFiber: 2gSugar: 28gProtein: 8g


Pamela S Wynn says
What size can is the pumpkin be
Christina Lane says
15-ounce can.
Bethany says
Hi, it looks like the recipe calls for 1 cup of canned puree then in the comments, a 15 oz can is mentioned. The recipe call for an entire can or just 1 cup? Also, will this recipe work in a 6 quart instapot? Thanks so much!
Gretchen says
Hi Christina!
So, I just made this, but I had to use a 7.5” springform pan because I thought I had a 6” one…but I didn’t…and it was too late to get the right size. I wanted to let you know that even with the larger pan (in my 6 qt Instapot), the cooking time in your recipe worked out great! It turned out beautifully, just a tiny bit jiggly after the natural release, which is perfect. Can’t wait to have it for dessert tomorrow after Thanksgiving dinner!
Christina Lane says
Thank you so much, Gretchen :)